Painting a room can completely transform its look, but streaks can ruin your hard work. Learning how to paint without streaks is essential to achieve a smooth, professional finish. Streak-free painting doesn’t just happen by chance—it requires the right tools, preparation, and techniques. Without these, even high-quality paint can look uneven or messy. Let’s dive into actionable tips to help you avoid streaks and achieve flawless results for your next project.
How to Paint Without Streaks: Step-by-Step Guide
Achieving a streak-free finish may seem tricky, but with the right approach, it’s entirely possible. Follow these steps for a polished look every time.
Start with Proper Surface Preparation
Preparation is the foundation of any successful paint job. Start by cleaning the walls thoroughly to remove dirt, grease, and old paint residue. For the best results, use a mild soap solution or a wall cleaner.
Next, inspect the surface for cracks, holes, or uneven areas. Fill any gaps with spackle and sand them smooth. Sanding not only levels the surface but also ensures the paint adheres evenly. Skipping this step can lead to a patchy, streaky finish.
Use High-Quality Primers for a Strong Base
Primer is a crucial step that often gets overlooked. It creates a smooth, uniform surface that helps paint adhere better. This is especially important if you’re painting over a dark color, glossy surface, or new drywall.
Choose a primer that’s suited to your surface. For example:
- Stain-blocking primer: Ideal for covering dark or stained walls.
- Adhesion primer: Great for glossy or tricky surfaces.
Using the right primer ensures even coverage and significantly reduces the risk of streaks.
Choose the Right Type of Paint According to the Room
Not all paints are created equal, and different rooms require different types. Moisture-resistant paint is essential for spaces like bathrooms or kitchens to prevent peeling and streaking.
Durable, washable paints benefit high-traffic areas like hallways or kids’ rooms. On the other hand, bedrooms and living rooms can use softer finishes like matte or eggshell, which provide a sleek and uniform look.
Pick the Perfect Sheen Type
The type of sheen you choose can also impact how streaks appear. Here’s a quick breakdown:
- Matte: Hides imperfections well but isn’t very durable.
- Eggshell: A slight sheen with a soft finish, great for living spaces.
- Satin: A balanced sheen that offers durability and easy cleaning.
- Glossy: High shine that adds drama but can highlight streaks if applied unevenly.
Choosing the right sheen for your space can minimize visible streaks while enhancing the room’s aesthetic.
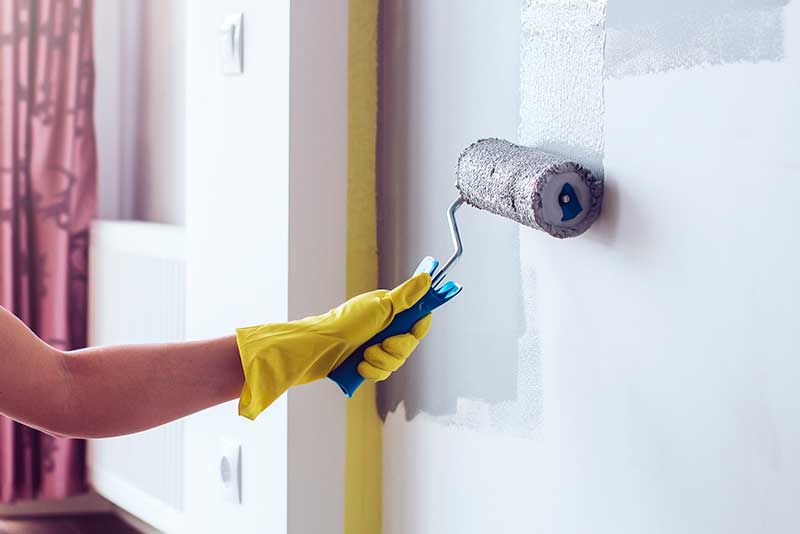
Invest in the Right Tools
Using the right tools is just as important as choosing the right paint. High-quality brushes, rollers, and sprayers ensure smoother application and fewer streaks.
-
#BBD0E0
»